Paint with Soils
Use the diverse colors and textures of soil to make art.
ACTIVITY DESCRIPTION
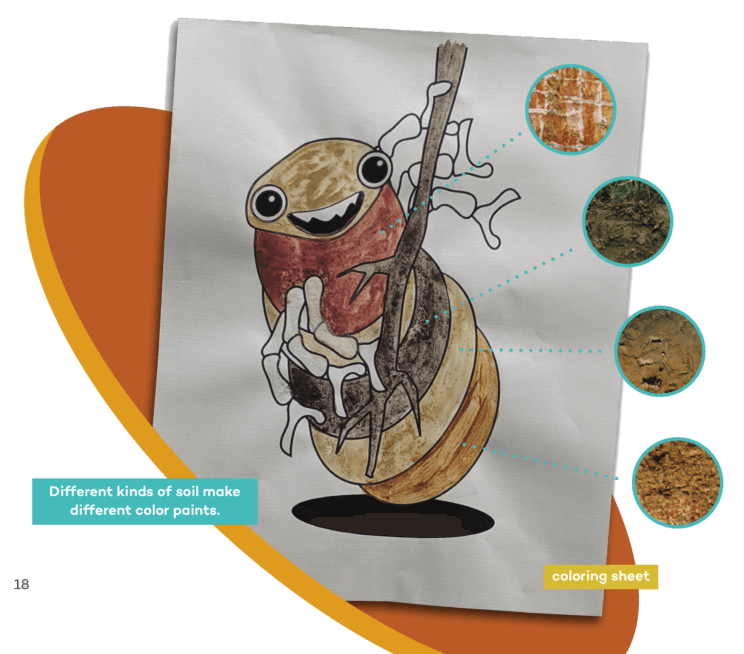
Did you know that you can paint with soils? Many cultures have used soils as pigments for pottery, textiles and storytelling. Next time you see a road-cut, an exposed bluff, or even when you unbury your underwear during Activity 7, you can collect soil samples of many different colors and use them for paint.
MATERIALS
- Soil
- Elmer’s glue
- Water
- Mortar and pestle, or a hammer
- 3 mm Meshed garden sieve
- Paint brushes
- Jars for storing paint
PROCEDURES
1. Prepare the soil
After gathering different kinds of soil outside, let them air-dry in direct sun and store them in a cool dry place until you’re ready to paint. Organize your soil samples by color. Crush the samples into fine grounds using a mortar and pestle or a hammer. Scoop up the grounds and process them through the 3 mm meshed garden sieve, working over a jar. Don’t mind the mess! The garden sieve removes rocks and larger debris that could muddy your soil paint experience.
2. Make paint
To make a watercolor style soil paint, mix your soil, water, and glue in a 2:5:1 ratio. So, that’s 5 parts water for every 1 part glue and twice as much soil as glue.
For example: Place 4 oz of soil in a 20 oz jar. Then add 10 oz of water and 2 oz of glue. Mix to combine.
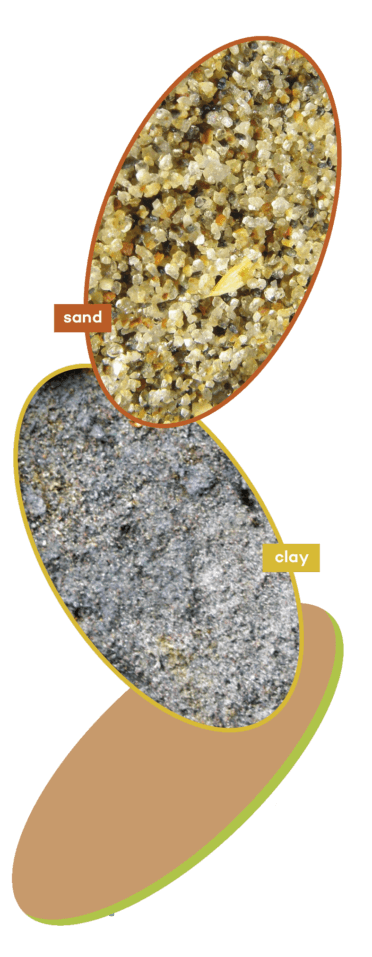
Paint consistency will vary depending on your soil type and texture. If your soil samples have a high proportion of clay, it will take more water to liquefy the paint mixture. If your soil samples are higher in the sand, less water will be needed. The finer the particles (e.g. clay) the more surface area there is, requiring more water to saturate the soil.
3. Download soil characters to print and paint on our website.
Soil paints work best on linen or watercolor paper.


