
Electrify & Energize
| AVAILABILITY | TUESDAYS AND WEDNESDAYS ONLY! September 10 until December 19, 2019. |
| TIMES | 10:00am - 1:00pm |
| COST | $11 per person |
| PLEASE NOTE: | This program requires a minimum of 15 paid participants and can serve a maximum of 35 participants. One free adult chaperone is required for every ten students. Additional adults will be charged the program fee and the parking fee. No other discounts, including SLSC membership discounts, apply to field trip package prices. Please arrive at least 15 minutes prior to your program start time as programs begin promptly at 10am. Doors open at 9:30am. Field trip schedule subject to change in order to better coordinate program components. |
Here’s your agenda for the day:
Explore Our Experience Energy Gallery – 10:00am – 11:00am
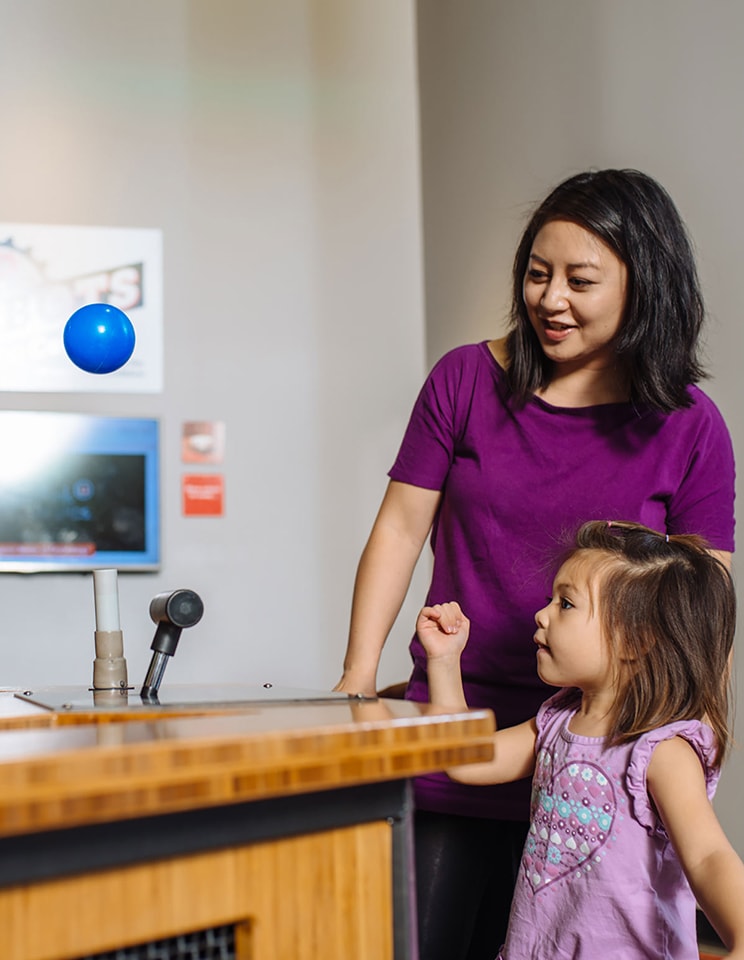
The Experience Energy gallery presents alternate methods of electrical generation and ideas to conserve energy. It features exhibits that show how wind, coal and solar power are converted to electricity and interactive stations that explain the energy efficiency of new and old appliances. Learn the pros and cons of electric vehicles, biofuels and combustion engines. Get hands-on with energy in this highly-interactive gallery.
Watch National Geographic’s Electropolis in the 3D Theater – 11:00am–11:30am
From the spellbinding drama of a widespread grid catastrophe to the brilliant technologies forging a more reliable and efficient future, Electropolis is the incredible story of our quest to reimagine and reinvent our entire energy ecosystem. Due to the intensity of the film, Electropolis, this program is best suited for children 3rd grade and above. Please note that this film is shown in our T-Rex room and NOT in the OMNIMAX® Theater
Enjoy Our Amazing Science Demonstration, Hidden Potential – 11:45am – 12:15pm
This interactive science presentation illustrates the many surprising places that energy exists in our world, hidden before our very eyes! Participants will discover how energy can be derived from water, witness how energy in food is used and other energy-releasing reactions
Lunch – 12:15pm – 1:00pm
Lunch may be purchased starting at $6 per student and $10.50 for adults, or you can bring your own.
Pre and post-visit activities
Learning Goals (for field trip and pre/post-activities)
- Students will define energy.
- Students will identify at least four (4) different types of energy.
- Students will learn how energy is not created nor destroyed, but simply changed.
- Students will learn how potential, kinetic, and chemical energy is transformed into electricity.
- Students will discover real-life applications and problems with the electrical grid and electricity production process.
Standards Met
Next Generation Science Standards
- NGSS 4-PS3-2 – Make observations to provide evidence that energy can be transferred from place to place by sound, light, heat, and electric currents.
- NGSS 4-PS3-4 – Apply scientific ideas to design, test, and refine a device that converts energy from one form to another.
- NGSS 4-ESS3-1 – Obtain and combine information to describe that energy and fuels are derived from natural resources and their uses affect the environment.
Common Core Standards
- ELA/LITERACY.W.4.7 – Conduct short research projects that build knowledge through investigation of different aspects of a topic.
- ELA/LITERACY.W.4.8 – Recall relevant information from experiences or gather relevant information from print and digital sources; take notes and categorize information, and provide a list of sources.
- ELA/LITERACY.W.4.9 – Draw evidence from literary or informational texts to support analysis, reflection, and research.
- MATHEMATICS.MP.2 – Reason abstractly and quantitatively.
Resources
Electrical Energy Stores and Transfers
http://www.bbc.co.uk/bitesize/ks3/science/energy_electricity_forces/energy_transfer_storage/revision/1/
Energy Transfer Resources from The Association for Science Education
http://www.ase.org.uk/resources/scitutors/subject-knowledge/k45-energy-resources-and-energytransfer/
Department of Energy
http://www.energy.gov/
Forms of Energy
http://www.solarschools.net/resources/stuff/different_forms_of_energy.aspx
Inside a Solar Cell – Solar Energy
http://www.pbslearningmedia.org/resource/ate10.sci.phys.energy.solarcell/inside-a-solar-cell/
The Grid
http://science.howstuffworks.com/environmental/green-science/living-off-the-grid.htm
Pre-Activities
Before bringing students to the Science Center you may want to try some of the following activities in order to activate prior knowledge and prepare them for their field trip. (Grades 3 to 8) Lessons should be adjusted for grade level.
- Exploring Energy Flow and Transformations
- Prior to lesson, identify some objects in your classroom that transform energy into different forms. Examples could include: light bulbs, overhead projectors, computers, fans, plants, class pets, lighters, candles, etc. Label selected objects with numbers to represent “stations.”
- Divide students into pairs or small groups and have groups rotate through the stations. Give students a few minutes to draw a simple diagram explaining the type of energy that goes into the object (input) and the type of energy that comes out (output) of the object. Student diagrams should look something like this.
i. (input energy form) -> (object/machine) -> (output energy forms)
- After students visit each station, have groups share their results and list their energy transformations. After the list has been generated, ask students if they notice any patterns. Students may notice that heat is an energy output in many situations.
- Using Candles to explore Energy and Mass
- Materials needed – a “good-quality” candle (tea light-size or bigger), a digital scale sensitive to 0.1 or 0.01 grams, matches or a lighter. A small, flat container to hold melting wax may be necessary depending on the type of candle used.
- Turn on the scale and zero it out. Place the unlit candle on the scale. Have students record the starting mass. Remove the candle from the scale.
Light the candle and allow the candle to burn for at least ten minutes. During this time, the instructor can lecture on relevant topics or answer questions. Students should discuss and record what they predict will happen to the mass of the candle. Ask students to include the reasoning behind their predictions. - After the specified amount of time has elapsed, blow out the candle and quickly place the candle back on the scale. Be sure that all melted wax is accounted for and placed on the scale as well. For this purpose, a jarred candle or burning the candle on a watch glass may be preferable to a bare candle. Record the mass of the candle again. Does the second reading support or disagree with students’ predictions? Depending on the size of the candle and the length of time it burns, the mass should decrease as portions of the wick and wax burn away into the air. Discuss with students their hypotheses for what happened to the mass and why. Additional readings may be taken over a longer period of time if needed in order to establish a pattern.
- If enough materials are present, this experiment can be done in small groups in a lab setting.
Post-Activities
You can extend your visit to the Science Center back in the classroom with the following post-visit activities. (Grades 3 to 8) Lessons should be adjusted for grade level.
- Designing and building a solar oven.
- Guide students in creating a container that allows in light but traps heat, thus serving as an electricity-free oven.
- Suggested materials – graph paper, pencils, scissors, aluminum foil, plastic wrap, black paint, cardboard boxes (pizza or shoe work well), black construction paper, clear plastic bags, small mirrors, thermometers, paint brushes, large rubber bands, paper clips, glue, duct tape, electrical tape, marshmallows, graham crackers, chocolate.
- Break students into small groups. Instruct groups to design a solar oven and draw a front, top & side view of their creation on some graph paper.
- A simple working design consists of a box with a large hole cut in the top. Plastic wrap is then stretched over this hole to allow in light but not allow heat to escape. The interior of the box can be coated in aluminum foil, mirrors or black paint in order to increase the amount of light and heat contained in the box.
- Once initial designs are finished, allow students to choose from the provided materials and give them ample time to build/refine their designs. Students can also bring their own materials from home.
- When students are ready to test the efficiency of their designs, place completed ovens outside in direct sunlight.
- Students can test their ovens by assembling and placing “s’mores” in their ovens. Students can monitor the cooking process by measuring the temperature both outside and inside the ovens. How long does it take to cook the s’mores? What design elements produced the best results? Ask the students what they would change about their designs.
- Building energy transfer machines
- Suggested materials – Pencils, paper (graph preferred), rulers, and other building materials as needed/desired.
- Building materials can be as simple as recyclables or as complex as solar cells. Students can be asked to bring in materials from home.
- Students will be divided into small groups and asked to design a machine that transforms one form of energy into another. Have students make a drawing on graph paper of their design. Depending on student level and space/time/material limitations, machines can be as simple or as complicated as desired.
- After the design process, students should be given time to build their machines using the supplied materials. Instructor should offer suggestions, answer questions and troubleshoot problems during this time.
- When all machines are finished, groups may be asked to present their machines to the rest of the class and demonstrate the energy transformations that take place in their machine. This can serve as assessment of student learning.
Download a PDF of pre & post field trip activities.
Bus parking is free – cars are $10 per vehicle, free parking for required chaperones.
NOTE: Reservations are required at least 2 weeks in advance and we must receive payment 10 days prior to your
scheduled field trip. Last minute additions to student or chaperone tickets must be made the day before arrival.
Download a PDF copy of this agenda
Cancellation policy: Payment is required 10 days prior to your scheduled field trip. Cancellation after that time period will result in forfeiture of the full activity amount. SLSC may cancel the program with at least one-week prior notice, in which case SLSC will promptly refund the amount previously paid and your organization will be relieved of any payment obligation. SLSC shall however, in no event, be responsible for any loss incurred by your organization other than the program payments received.
To make a reservation please call 314.289.4439, email us or fill out the form below to get started.
Sorry. This form is no longer available.
Plan Ahead
All groups should also be aware of our Group Policies, and should print, fill out out and bring our Group Policies Acknowledgement form. For more information, contact Group Sales by phone at 1.314.289.4424, or at groupvisits@slsc.org.